The purpose of structural damage testing is to determine the extent of the damaged structural components of the building, how serious or stable, continue using or dismantling new construction,or reinforce to continue using.
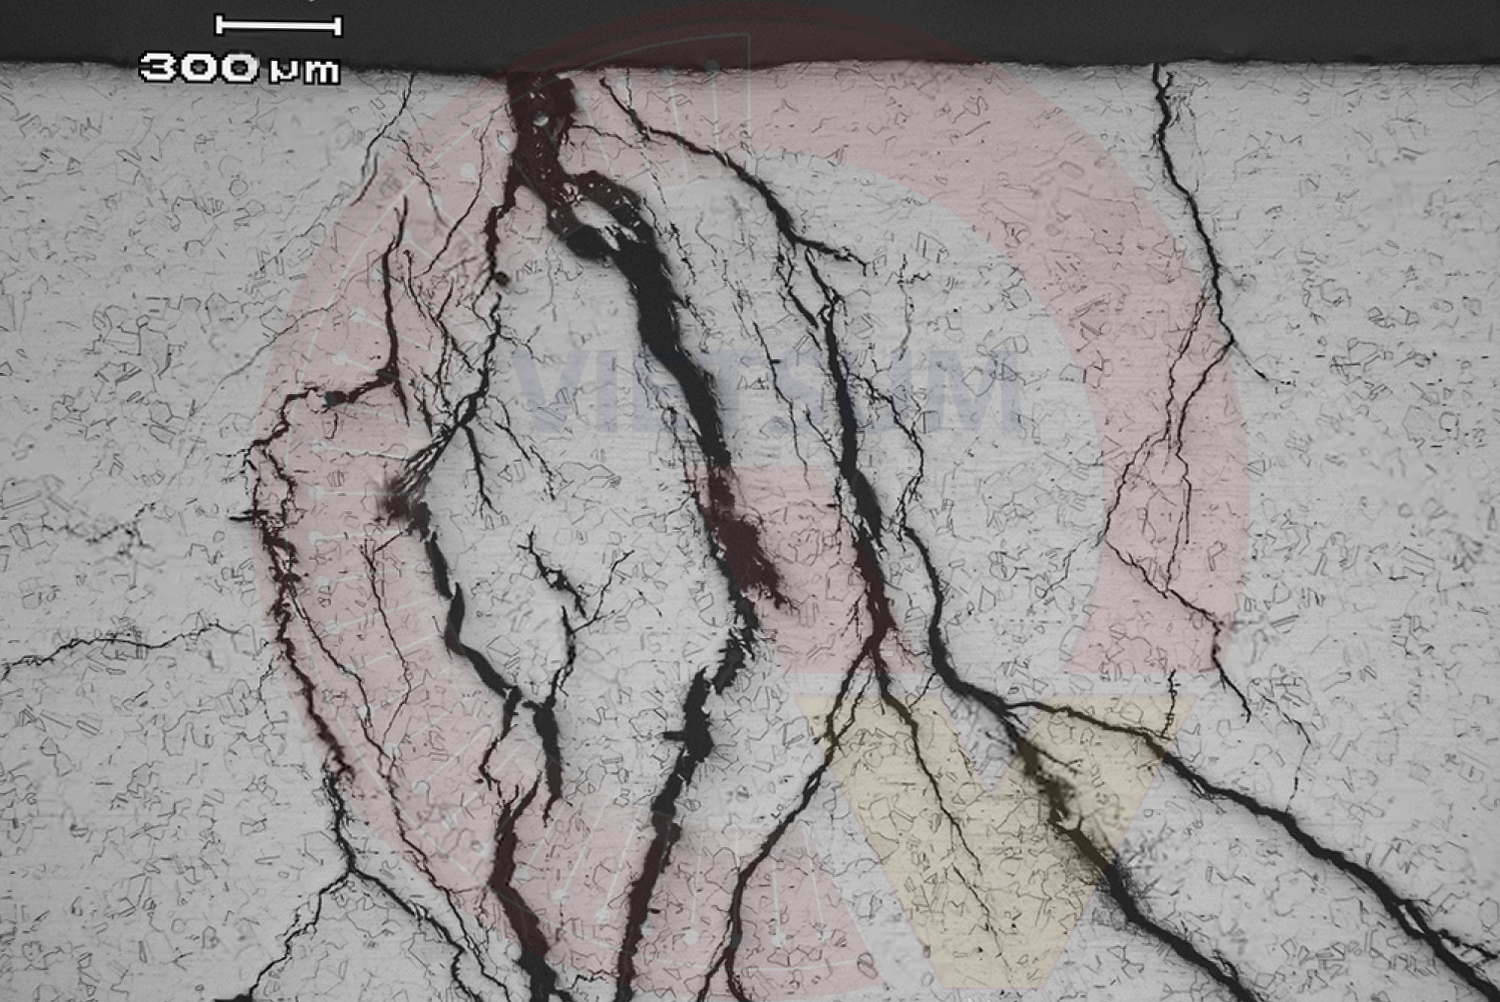
Checking for cracks, damage to components, tilting the factory hammock
Pursuant to Vietnamese standards, divided according to 4 levels of damage to structures and works:
Evaluate the damage level of the structure and local parts of the factory: Class A is for normal use, with minor repair. Class B is for normal use and repair of dangerous structures. Class C is dangerously localized, repaired, reinforced. Class D is overall danger, fending off temporary evacuation when needed.
PURPOSE OF INSPECTION OF THE DAMAGE OF THE WORKS – FACTORY:
1. Determine the quality of the current state of the work, assess the safety of columns, beams, workshop floors at locations with local damage including cracking, permeation, failure, settlement, inclination, and displacement of the workshop.
2. Determine the quality of the current state to assess the safety of the components and the entire workshop, and prepare repair plans and estimates to ensure safety and usability.
RECORDED IMAGES IN WORKS CRACKS:
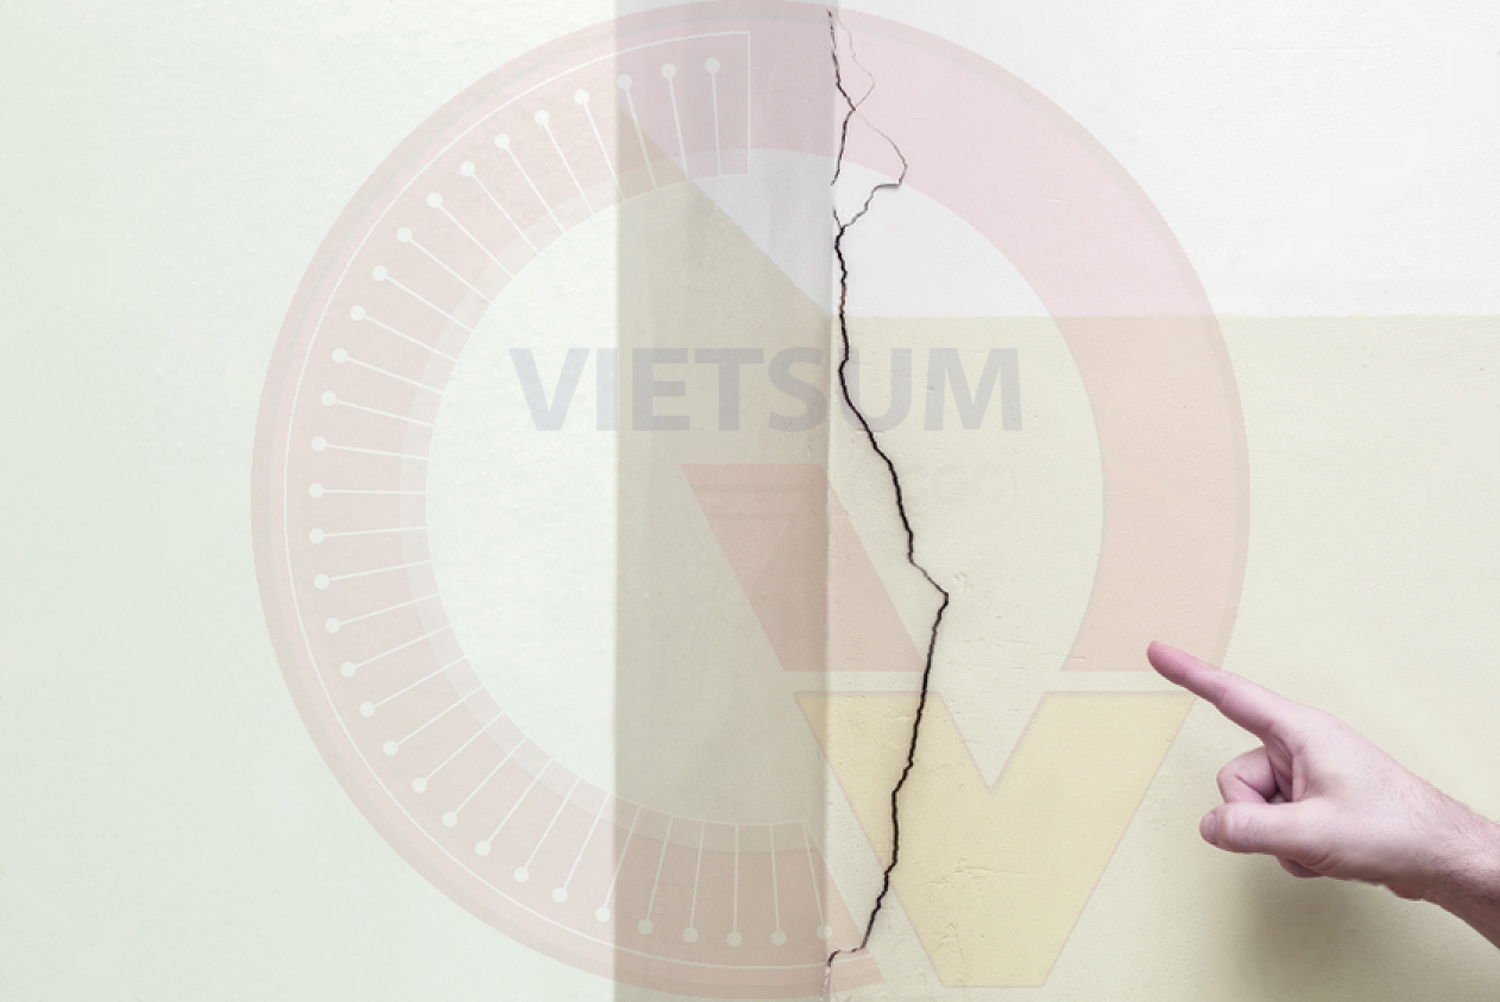
Photo: Check and check the junction between the column and the wall.
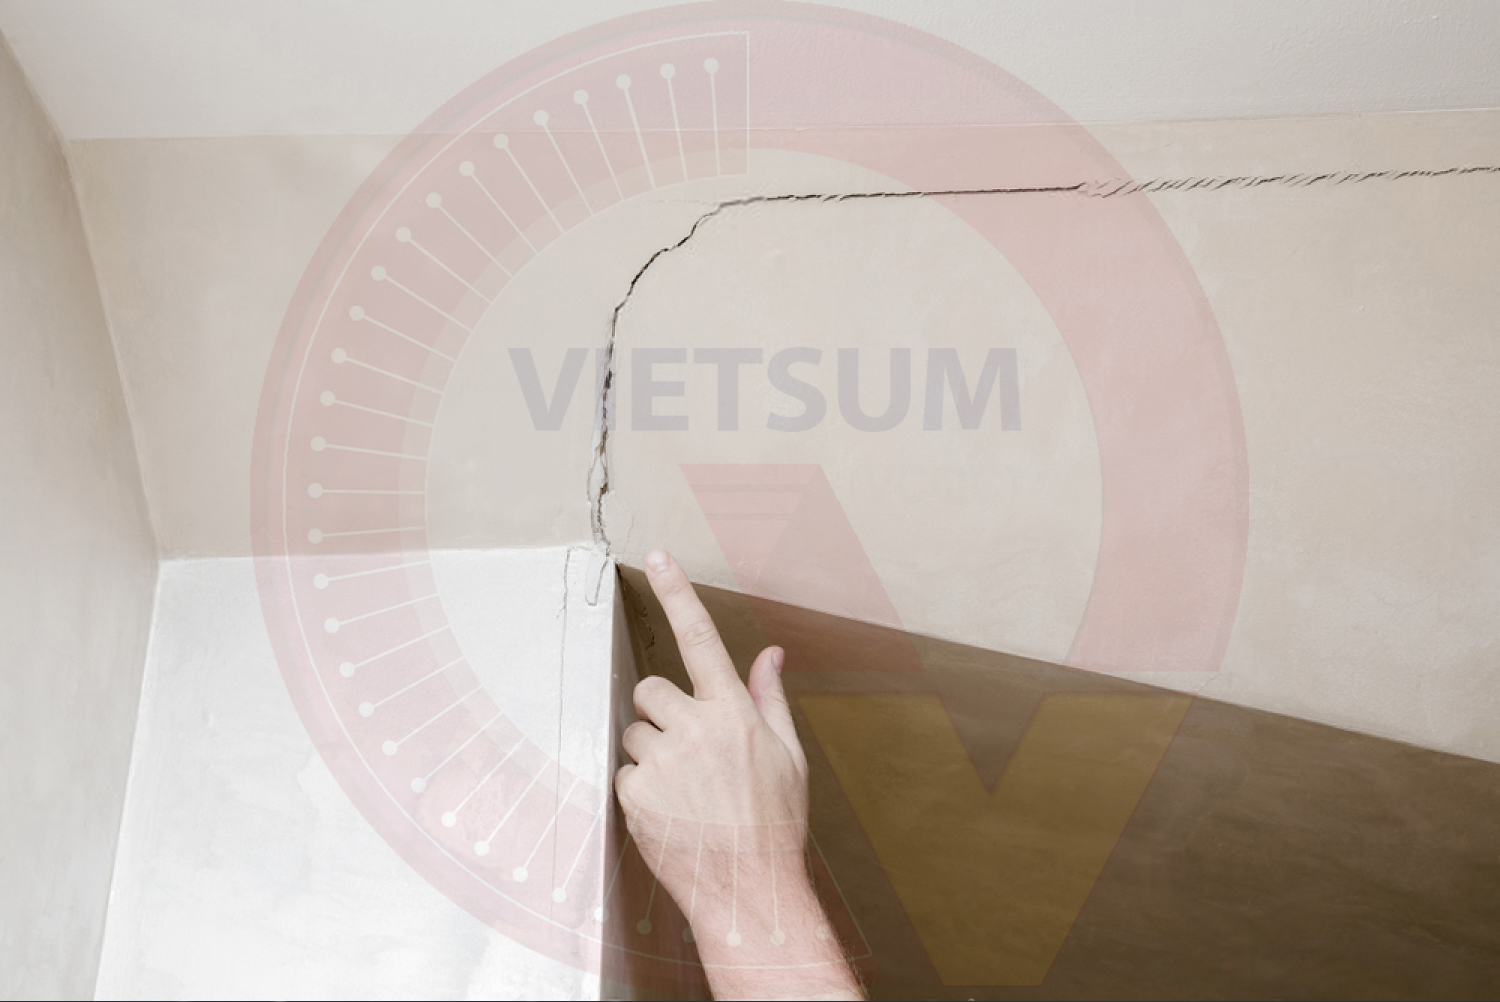
Photo: Check and record cracks adjacent to stairs.
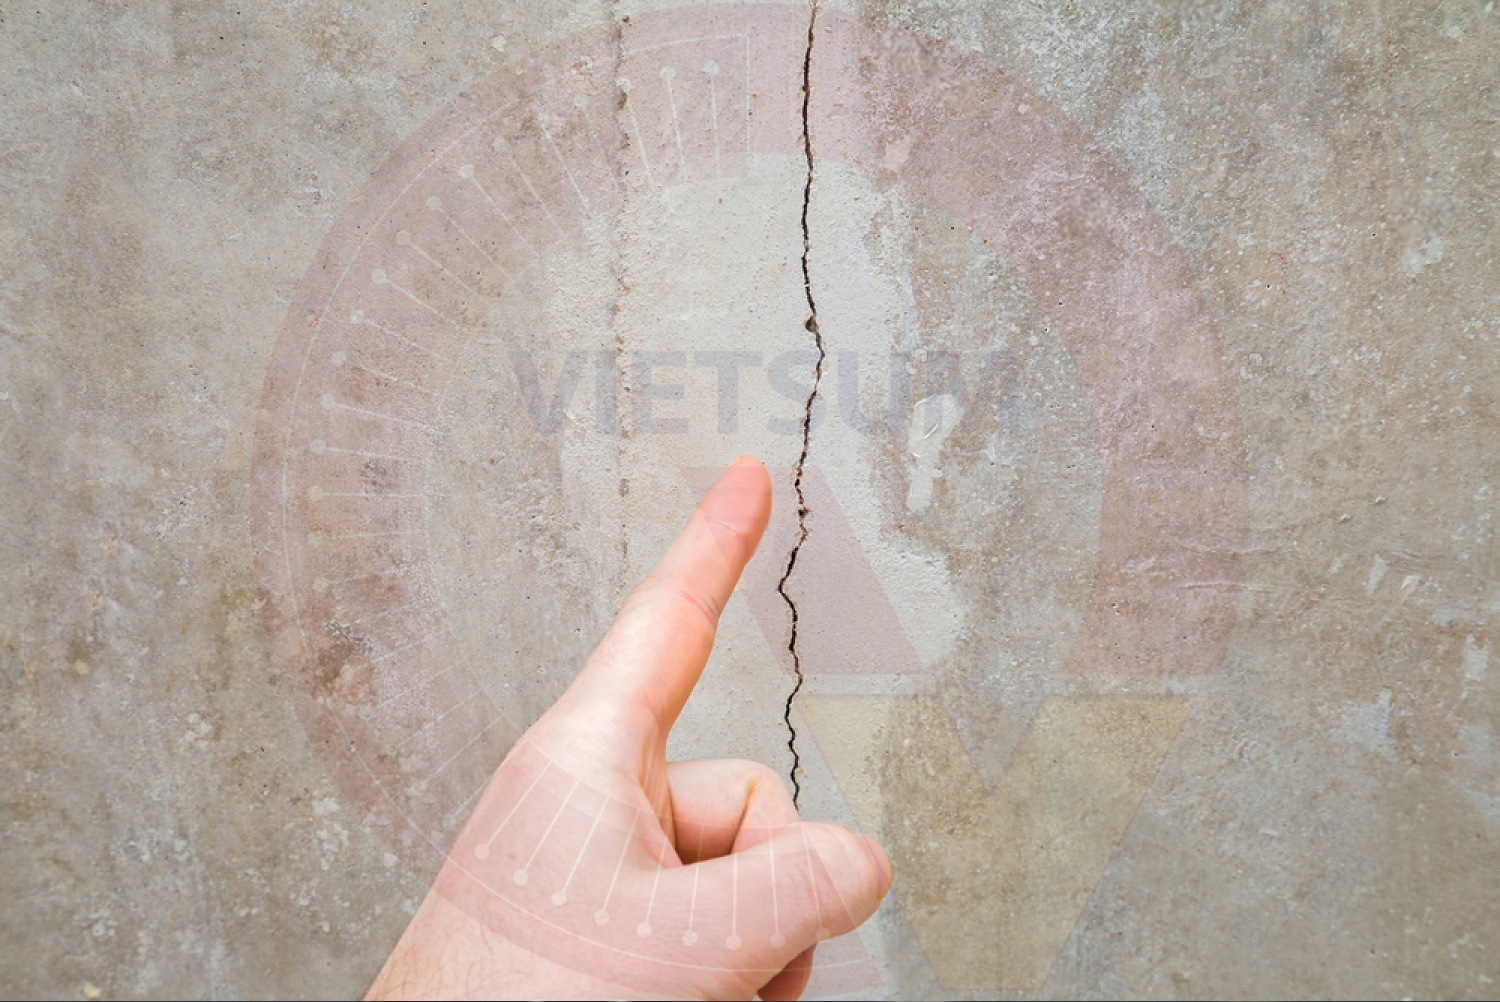
Photo: Check for vertical cracks in the center of the wall.
IMAGES LABORATORY TESTING CRACKS
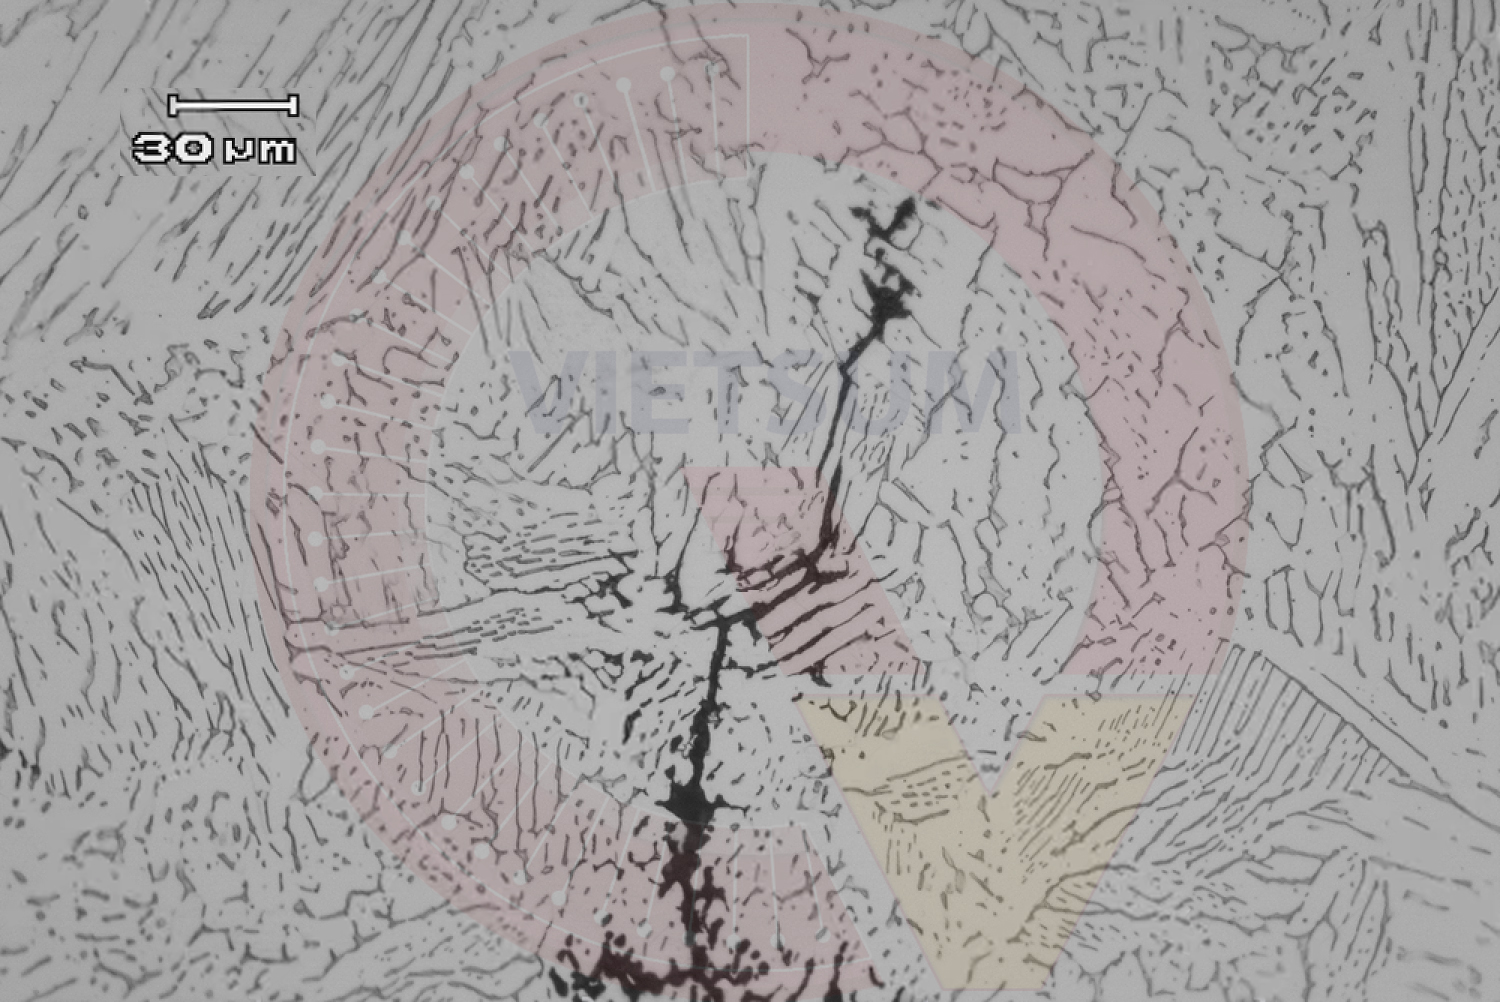
Photo: Ultrasonic results of cracks in steel structures.
Photo: Results of ultrasonic cracking of concrete structures.
Photo: Test results detect weld damage.
Photo: Test results detect weld damage.
PICTURES CHECK THE TILT FACTORY
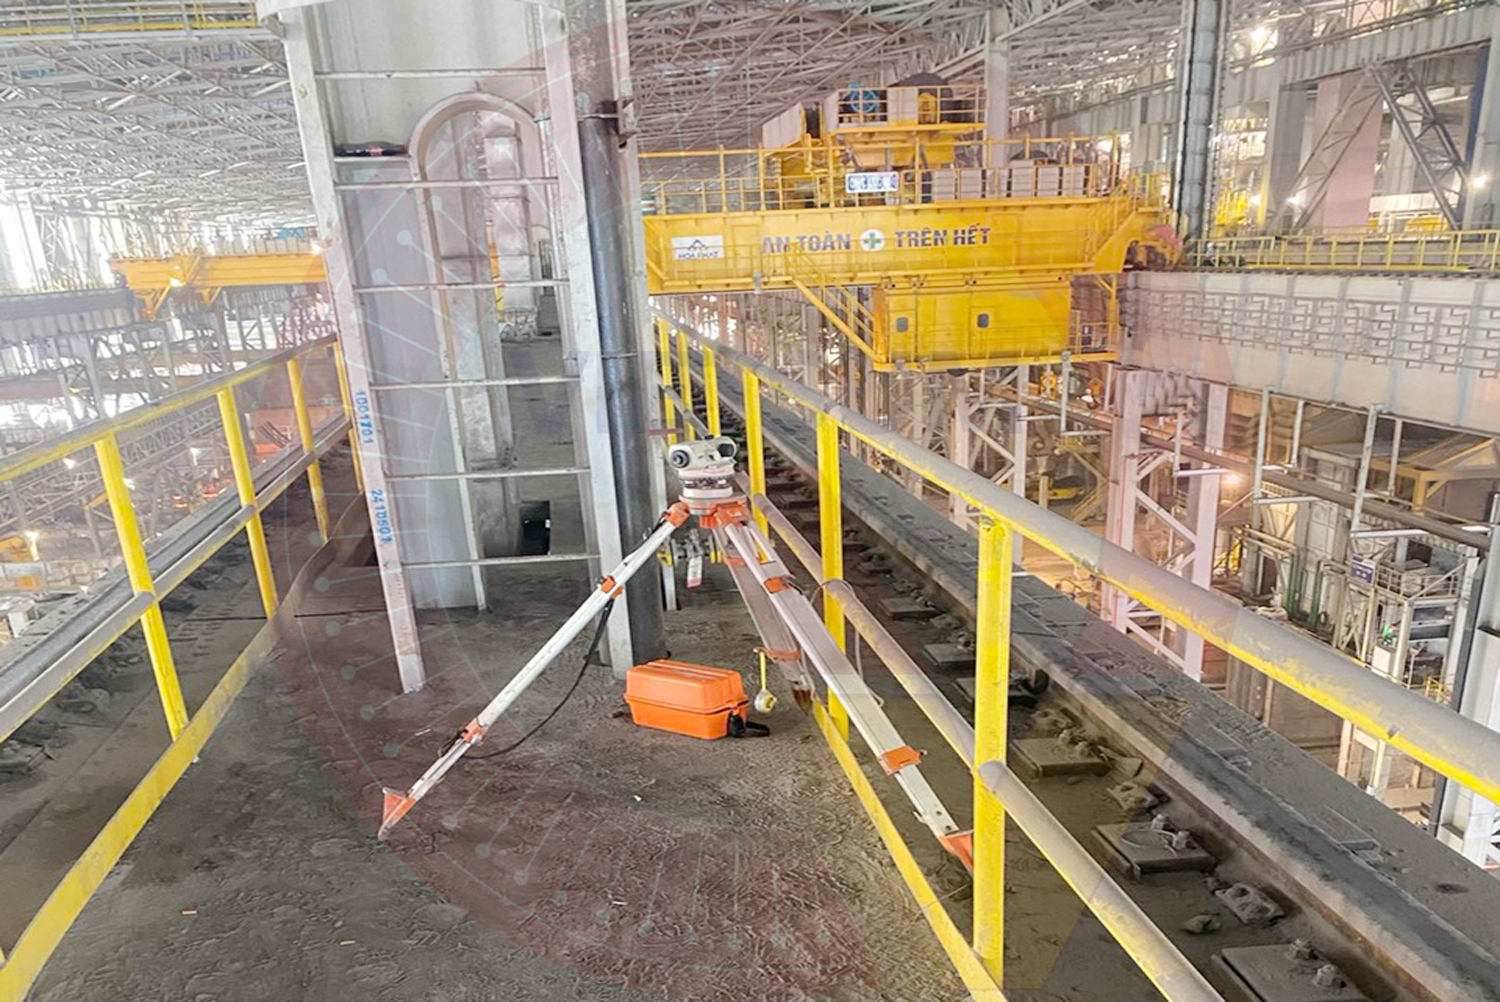
Photo: Check the sag of the factory structure with the Leica Regulator.
Photo: Check the sag of the factory structure with the Leica Regulator.
FACTORY INSPECTION CONTENT
1. Visually check the current state of the project
– Survey, determine defects and damage to the work surface.
– Defining the structure and architectural features of the work.
– Check the positions of structure cracking and permeability: length, width, direction of cracking.
– Check, determine settlement location.
– Measure and draw the current state of the project.
– Take pictures of defective and damaged locations.
– Data collector: Steel ruler, crack width detector with camera magnification 100 times, laser rangefinder.
2. Check the tilt of workshops
– Data collection machine: Electrodes – Leica electronic total station.
3. Check and measure the deviation of components
– Data collection machine: Electrodes – Leica electronic total station.
MAKING FACTORY QUALITY ASSESSMENT REPORT
A. Based on the issued Vietnam Standards: Assessing the condition of the structure and the factory;
B. Determine the actual condition of the member. Calculate and evaluate the safety of factory components according to standards;
C. Propose plans to fix existing damages to ensure safety, make an estimate of work and factory repair;
Hotline: 090 959 8771 – Mr Nam
— “Vietsum successfully accompanies customers’ workshop” —

